

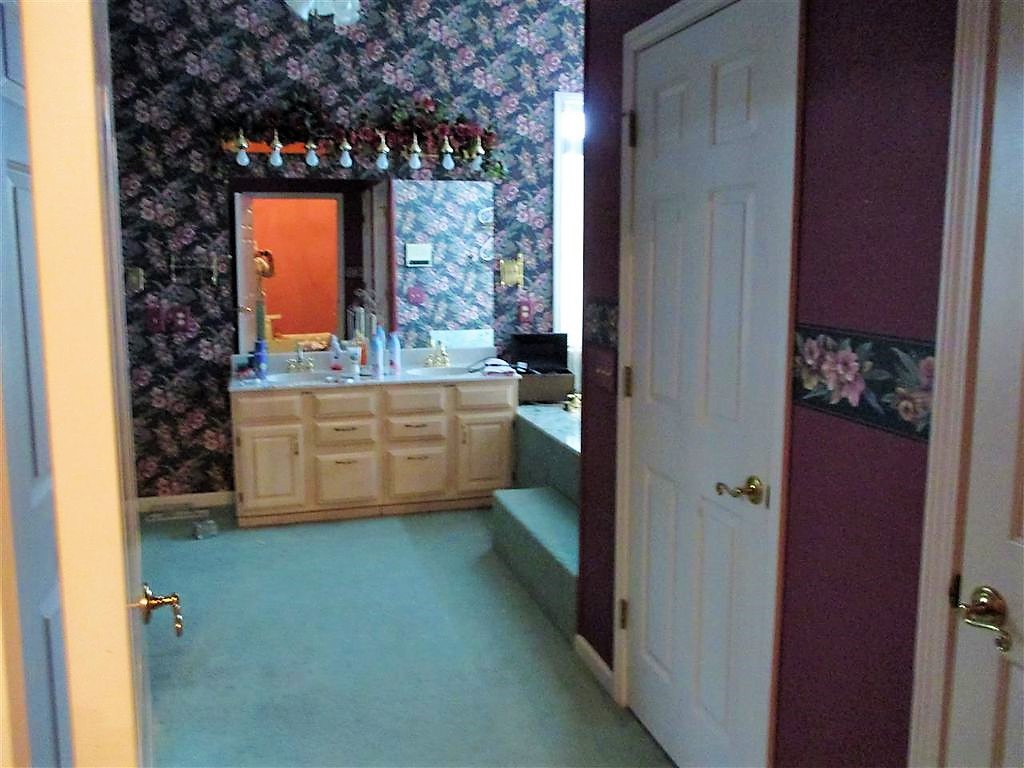
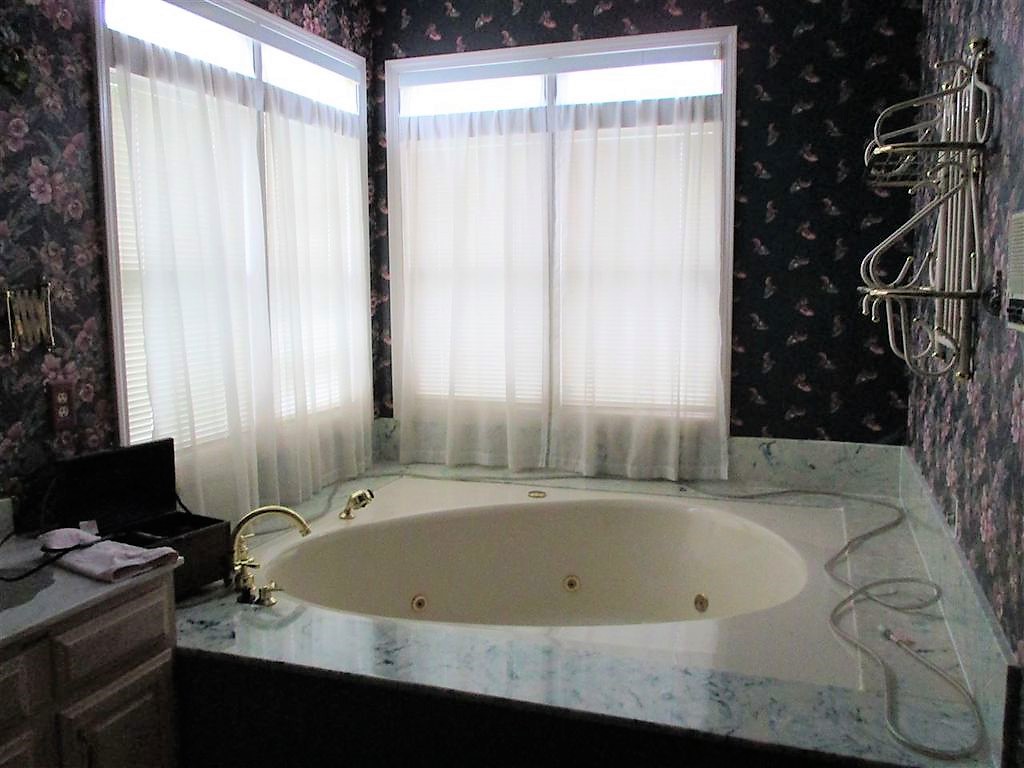
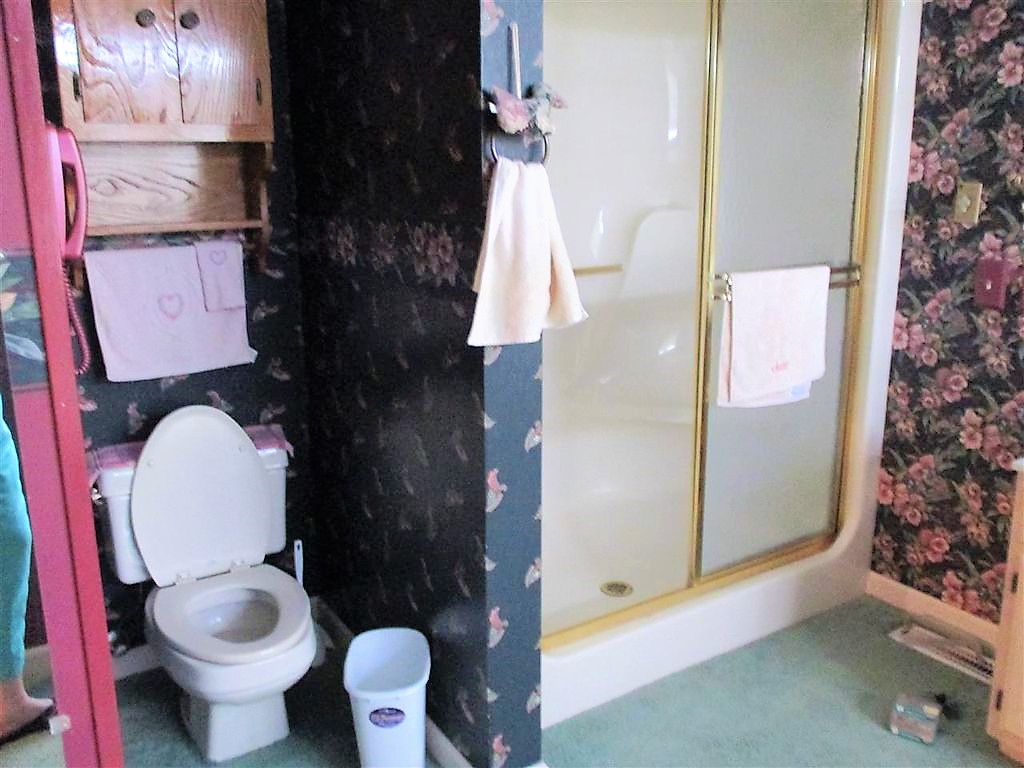
Welcome back to My Home Remodeling Series! Today, I’m going to show you the before and after photos of our master bathroom. The first time I saw out, I’ll admit. I kind of cringed. Lots of wallpaper and border, lots of ruffles and brass, some carpet, and an enormous boxy, bathtub. We had some work to do! Check out these befores.
For starters, everything had to go. My husband ripped up the floor and replaced it with a porcelain faux marble tile in large rectangular planks that I found from Buy Floors Direct in Nashville. It instantly lightened the room.
We stripped and stripped and stripped some more. I’m talking wallpaper and border so get your mind out of the gutter! 😉 Next up was to resurface the drywall and paint the walls my go to color- Revere Pewter by Benjamin Moore. Oliphant & Company Painting did all of the walls and trim for the house. They did a great job, if I do say so myself!
My husband added a tall baseboard and large crownmolding that was painted white, to really make the room pop. The doors were replaced and the openings made taller to draw the eye up, making the room seem larger.
The tub and steps around it were ripped out and replaced with a modern freestanding tub by the company Jason. It, by far, is my favorite addition and is used daily to get my zen on. Tip–if you add a small, wall-mounted TV above the tub and throw in a bath bomb and just relax, it will change your life. You can thank me later. Wink!

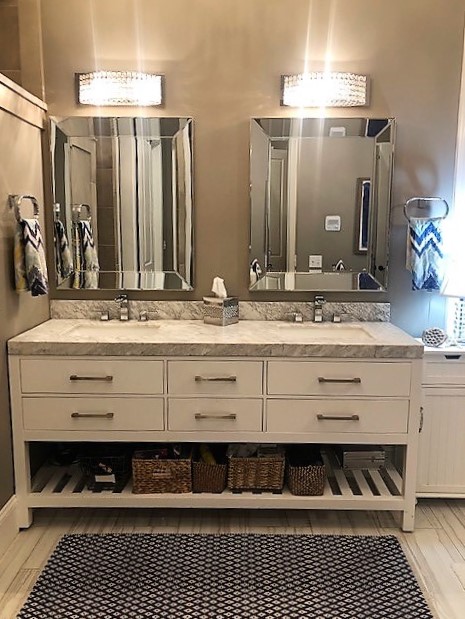
Next up, the vanity and sinks were removed and replaced with a larger, more modern vanity in white. It came with an existing counter top already attached, and I ordered it from Houzz.com. The open shelving on the bottom makes for a great place to use baskets to hold beauty supplies. I’m a bit of a beauty product hoarder so the baskets can get a bit out of control. Yeah, it’s a New Year’s resolution to get rid of the clutter so I’m working on it!
The existing shower was replaced and converted into a tiled walk-in shower. I just went with a basic gray tile, that has the look of concrete, for the walls. There is a focal point on the shower wall where we used a different tile to pull in some of the white from the flooring to tie it all together. Every shower needs some small shelves and to help you when you’re trying shaving your legs, so don’t forget those! For the shelves, we went with a granite in a similar color scheme. The shower floor is my favorite because it feels just like you are standing barefoot in a stream atop smooth rocks underneath a waterfall. Okay, it’s just a shower head with side jets but you get my drift. I highly recommend the pebble/rock tile. You’ll love it! All of the tiling for the shower was purchased from The Granite Shop of Murray, KY, and they installed the tile, as well.

For the faucets, I fell in love with the waterfall effect of the open spout faucet. They are Delta brand, and different finishes are available.
The toilet already had its own nook but needed a doorway, so we went with a sliding barn door. I’ll be honest, I love the look of it but it offers very little privacy. Using a barn door for a bathroom may not be something you want to go with unless you’re just don’t give a rip! Even if you don’t, your family probably does, so I’d rethink that one. LOL
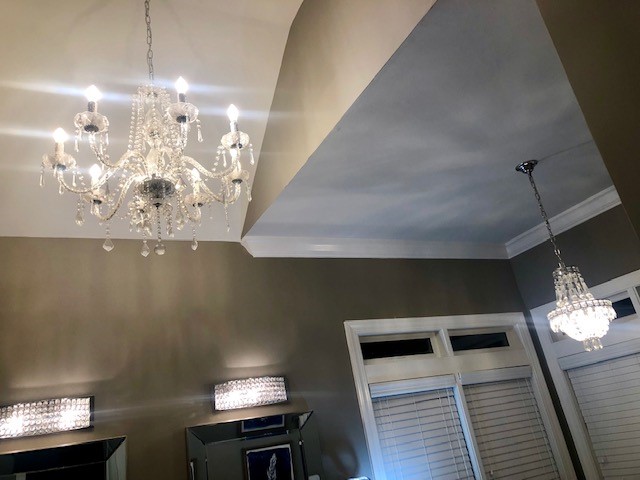
For the bathroom lighting, I wanted it to look luxurious and more formal. I found a large chandelier for the center of the room and a smaller version to go over the tub. I ordered both from Overstock.com and they were installed by Moonlight Electric. To go over the vanity, I found a similar style of lighting at Lowe’s that we bought. I opted for two separate mirrors, as opposed to one, to go over the sinks. I think they are from Overstock too but don’t remember for sure, so don’t hold me to it.
Lastly for the final touches, I found some chunky towel rings that matched our faucets perfectly. For color, I added a rug and matching towels that pulled the navy in from the master bedroom. Wall art is always a good addition as another way to brighten up the space. Hobby Lobby had all the wall art I needed there, and I bought it for half off so a definite win!
My husband, John, knocked it out of the park with this one! If you’re looking for an experienced and trustworthy general contractor whose expertise is custom homes, he’s your guy! Look him up at Oliphant Construction here in Cadiz, KY.
Thanks so much for stopping in! Next up in the series will be my little boy’s room. If you haven’t checked out the other posts in the series, go back and look them up. As always, if you haven’t subscribed yet to get the latest posts, be sure to enter your email address on my blog’s homepage to keep you in the loop. Until next time! xo, Christy

What an incredible bathroom, just beautiful!
LikeLiked by 1 person
Thank you so much! It was a long process, with my husband doing most of the work himself after hours, but worth the wait. ☺️
LikeLiked by 1 person
It is worth it!
LikeLiked by 1 person
For sure!
LikeLike
You all are soooo talented!!! This is gorgeous!! I envy your sense of style!!
LikeLiked by 1 person
You’re too kind! Thank you so much! 💕
LikeLike
I am very happy to say that this is an interesting post. I learn new information from your Blog, you are doing a great job. Keep it up Granite Vanity Tops
LikeLiked by 1 person
Thank you! I appreciate it.
LikeLiked by 1 person